
How to redesign a room with AI from one photo.
One photo can start an AI room plan, but it cannot prove dimensions. Use this six-step workflow, then confirm fit, price, stock, shipping, and returns.
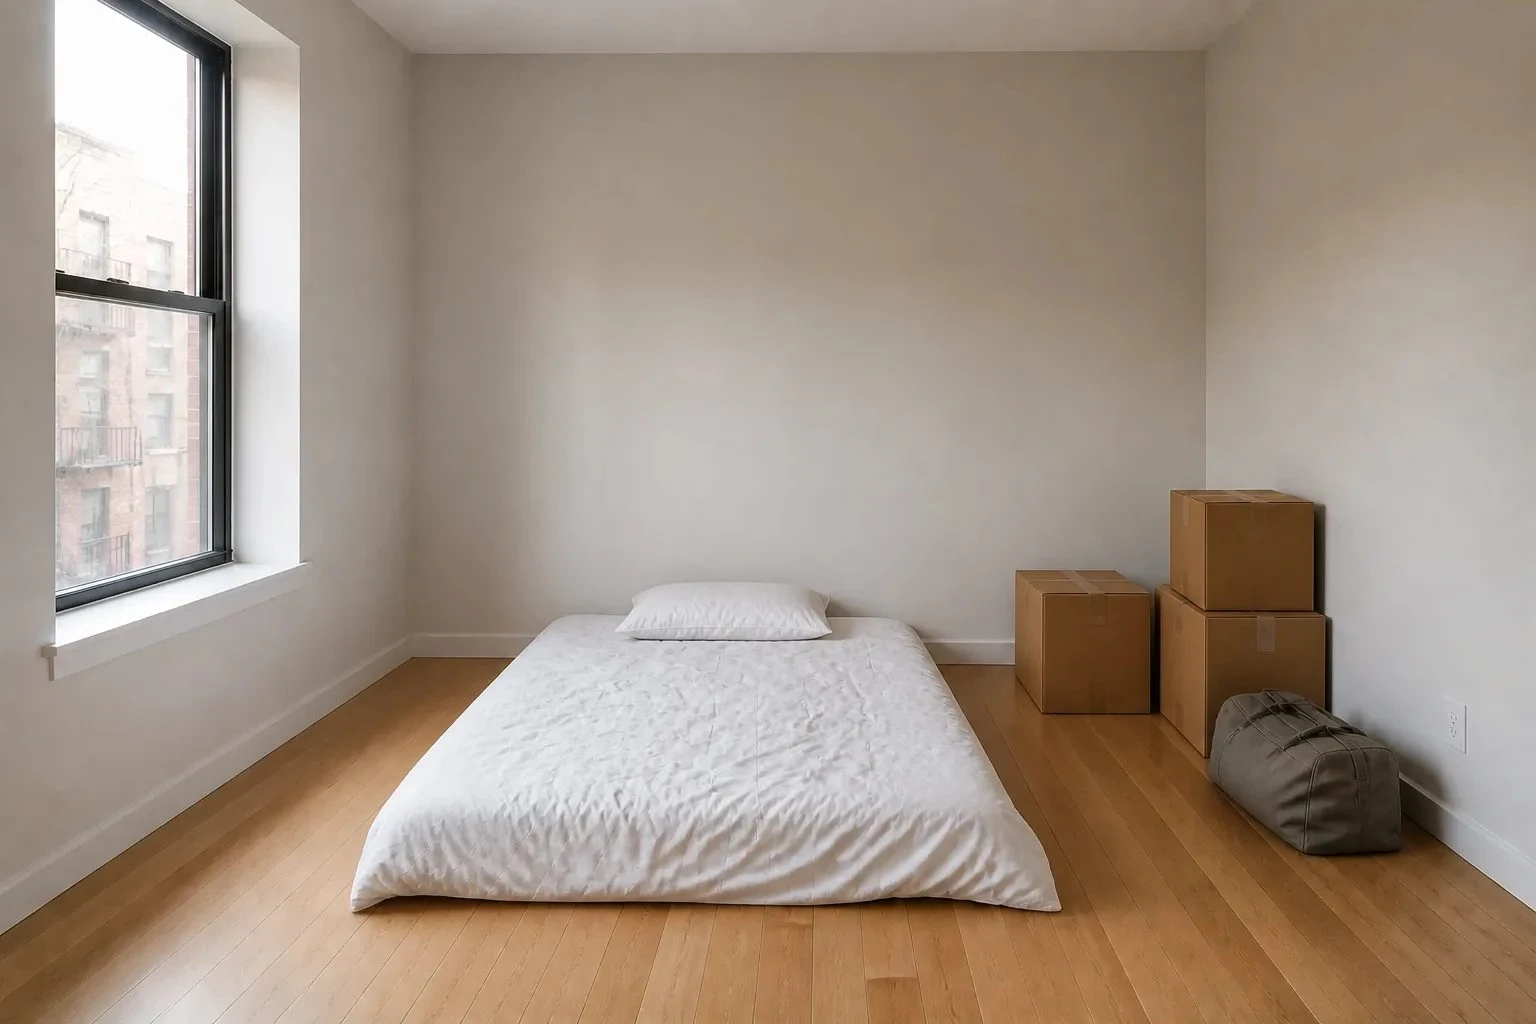
One clear room photo can start a RoomDone furniture plan, but it cannot prove a single measurement. Use the photo to identify furniture, doors, floor area, and style. Use a tape measure and published product dimensions to confirm fit before ordering.
I built RoomDone and use this workflow in the product. The photo is the visual brief, not a scale drawing. It helps the planner read what exists and what should change. Your room inputs and the retailer's product page carry the numbers.
What can one room photo identify?
One photo can show visible furniture, room purpose, doors, windows, built-ins, obstructions, floor material, daylight, and broad style cues. It can also miss anything outside the frame. A room photo is a visual inventory, not a measured floor plan.
The camera does not supply a trustworthy ruler. Lens distortion changes apparent distance, a cropped wall hides its endpoint, and two objects that look aligned may sit several feet apart. RoomDone keeps those unknowns visible instead of turning pixels into precise inches.
Useful from the photo
Room type, visible furniture, light, fixed obstacles, open floor, and the look you want to keep or change.
Not proven by the photo
Wall length, walkway width, door clearance, product fit, price, stock, shipping, and returns.
How do you take a usable room photo?
Five choices make the frame useful. Stand near a doorway or corner, hold the phone level, and step back until the floor meets two joining walls in the image. Keep the route through the room visible. Move loose laundry or boxes only when they hide the furniture or floor the planner needs to read.
- Show the floor and two joining walls.The corner gives the planner room structure instead of one flat surface.
- Keep the phone level.A tilted camera makes vertical walls lean and furniture proportions harder to read.
- Step back before switching lenses.Extreme wide-angle shots stretch the edges and make nearby objects look oversized.
- Leave doors and obstructions in frame.Door swings, radiators, vents, built-ins, and low windows remove usable placement options.
- Use even light.Open curtains or turn on a lamp so dark corners do not erase furniture and floor edges.
Do not include people, mail, family photos, or screens when they are not needed. Crop them out before upload. The room is the subject.
What is the beginner workflow after the photo?
Six inputs turn the image into a brief: photo, room type, fit mode, budget, style, and furniture intent. Start broad. A bedroom with a queen mattress, a whole-room ceiling, and a clear request to replace or keep each visible piece gives the planner more useful constraints than a paragraph of decor adjectives.
- 1. Add the photo.Use the room-wide frame, not a close-up of one product.
- 2. Confirm the room.Name the room type and any fixed use the plan must support.
- 3. Set fit inputs.Enter measurements, or choose an estimated room profile and accept the checks it leaves open.
- 4. Set one ceiling.Budget for the complete room, not seven unrelated product limits.
- 5. Pick a direction.Choose a style the product system can apply consistently across the set.
- 6. State furniture intent.Keep, replace, add, or remove what matters. Leave unrelated objects as context.
The worked RoomDone selection guide shows what happens to those inputs after you submit them.
Is a product plan different from a style preview?
Two outputs answer different questions. A product plan names the exact things to buy. A style preview illustrates how that direction could look in the photographed room. The plan is the shopping record. The preview is evidence for taste and placement, not evidence that a product fits.
A useful product plan includes the chosen variant, published dimensions, current price, retailer, fit note, shipping status, and buying link. RoomDone runs those items through its catalog checks before a product reaches the plan.
| Output | Good for | Cannot prove |
|---|---|---|
| Product plan | Exact products, variants, totals, links, and checks | Your unmeasured wall or checkout conditions |
| Style preview | Color, balance, placement direction, and the feel of the set | Exact fit, scale, stock, price, or included pieces |
What do you confirm before ordering?
Seven checks sit between a promising plan and a safe order: clear wall, door swing, published dimensions, selected variant, current price and stock, shipping, and returns. Open each retailer page again on buying day. A saved screenshot is not current stock.
Measure the wall where a bed, dresser, desk, or shelving unit will sit. Mark the door arc with painter's tape. Compare the product's outside width and depth, not the mattress or desktop alone. The queen-bed fit guide shows how RoomDone turns one published frame width into a wall check.
Then confirm what arrives in the box. A pictured pair may sell as one panel. A bed may exclude the mattress or foundation. Delivery cost can depend on the ZIP code, and a return window can start when the package arrives. The retailer page and checkout own those terms.
A photo is not a tape measure.
One image is enough to begin, not enough to order blind. Keep the visual read, fit inputs, product ledger, and final checkout check as separate pieces of evidence.
Common questions
Can AI redesign a room from one photo?
Yes. One clear photo can identify the room type, visible furniture, doors, windows, floor area, light, and style cues. It cannot prove wall lengths, walking clearance, or product fit. Give the planner measurements when you have them and confirm every published product dimension before ordering.
What should a room photo show?
Show the floor and two joining walls in one level frame. Keep doors, windows, radiators, vents, and built-ins visible. Step back instead of using an extreme wide-angle lens. Daylight helps, but a bright lamp is fine when it keeps corners and obstructions readable.
Do I need room measurements before I start?
No. RoomDone can start with a Snug, Typical, or Roomy estimate and name the clearances you still need to check. Exact room length and width make the first pass stronger. A clear-wall measurement is still required before you order wall-dependent furniture.
Is an AI room image a shopping list?
No. A style preview is an illustration unless it is tied to exact products. A shopping plan needs product names, selected variants, prices, published dimensions, stock, shipping status, and retailer links. Treat the product list as the buying record and the image as a way to judge the direction.
What should I check before buying furniture from an AI plan?
Measure the clear wall, trace the door swing, compare published product dimensions, and reopen every retailer page. Confirm the selected variant, current price, stock, shipping for your ZIP, return window, and any required assembly or accessories before you place the order.
Who wrote this
I am Thomas Nguyen, the person who built RoomDone and wrote this guide on August 24, 2026. The page contains no commissionable product links. The limits above are the same limits I keep in the product: a photo can start the plan, and measured fit still wins.
If eligible retailer links become active, RoomDone may earn a commission. Compensation does not determine which products RoomDone selects, and your price does not change.
Start with the room you have.
Send one clear photo. Add the measurements you know. Keep the unknowns visible.